> ## Documentation Index
> Fetch the complete documentation index at: https://docs.prettywhale.ai/llms.txt
> Use this file to discover all available pages before exploring further.
# Get PrettyWhale.ai running in under 2 minutes
> Learn how to generate your first production-ready data pipeline with PrettyWhale.ai in five steps, starting from a sample data file.
## Prerequisites
Before you begin, make sure you have the following:
* **A PrettyWhale.ai account** (If you're not sure, please contact your company administrator or our [sales team](https://prettywhale.ai/contact))
* **A data sample file** : a sample in JSON or CSV format containing field names and values from the dataset you want to ingest
* An access to **VS Code**
* An internet connection
Your sample file does not need to be complete or production-sized. A handful of representative rows (\~100 rows) is enough for PrettyWhale.ai to detect the structure, infer types, and suggest transformations accurately.
If you don't have an account yet, please contact your company administrator or our [sales team.](https://prettywhale.ai/contact)
## Generate Your First Pipeline
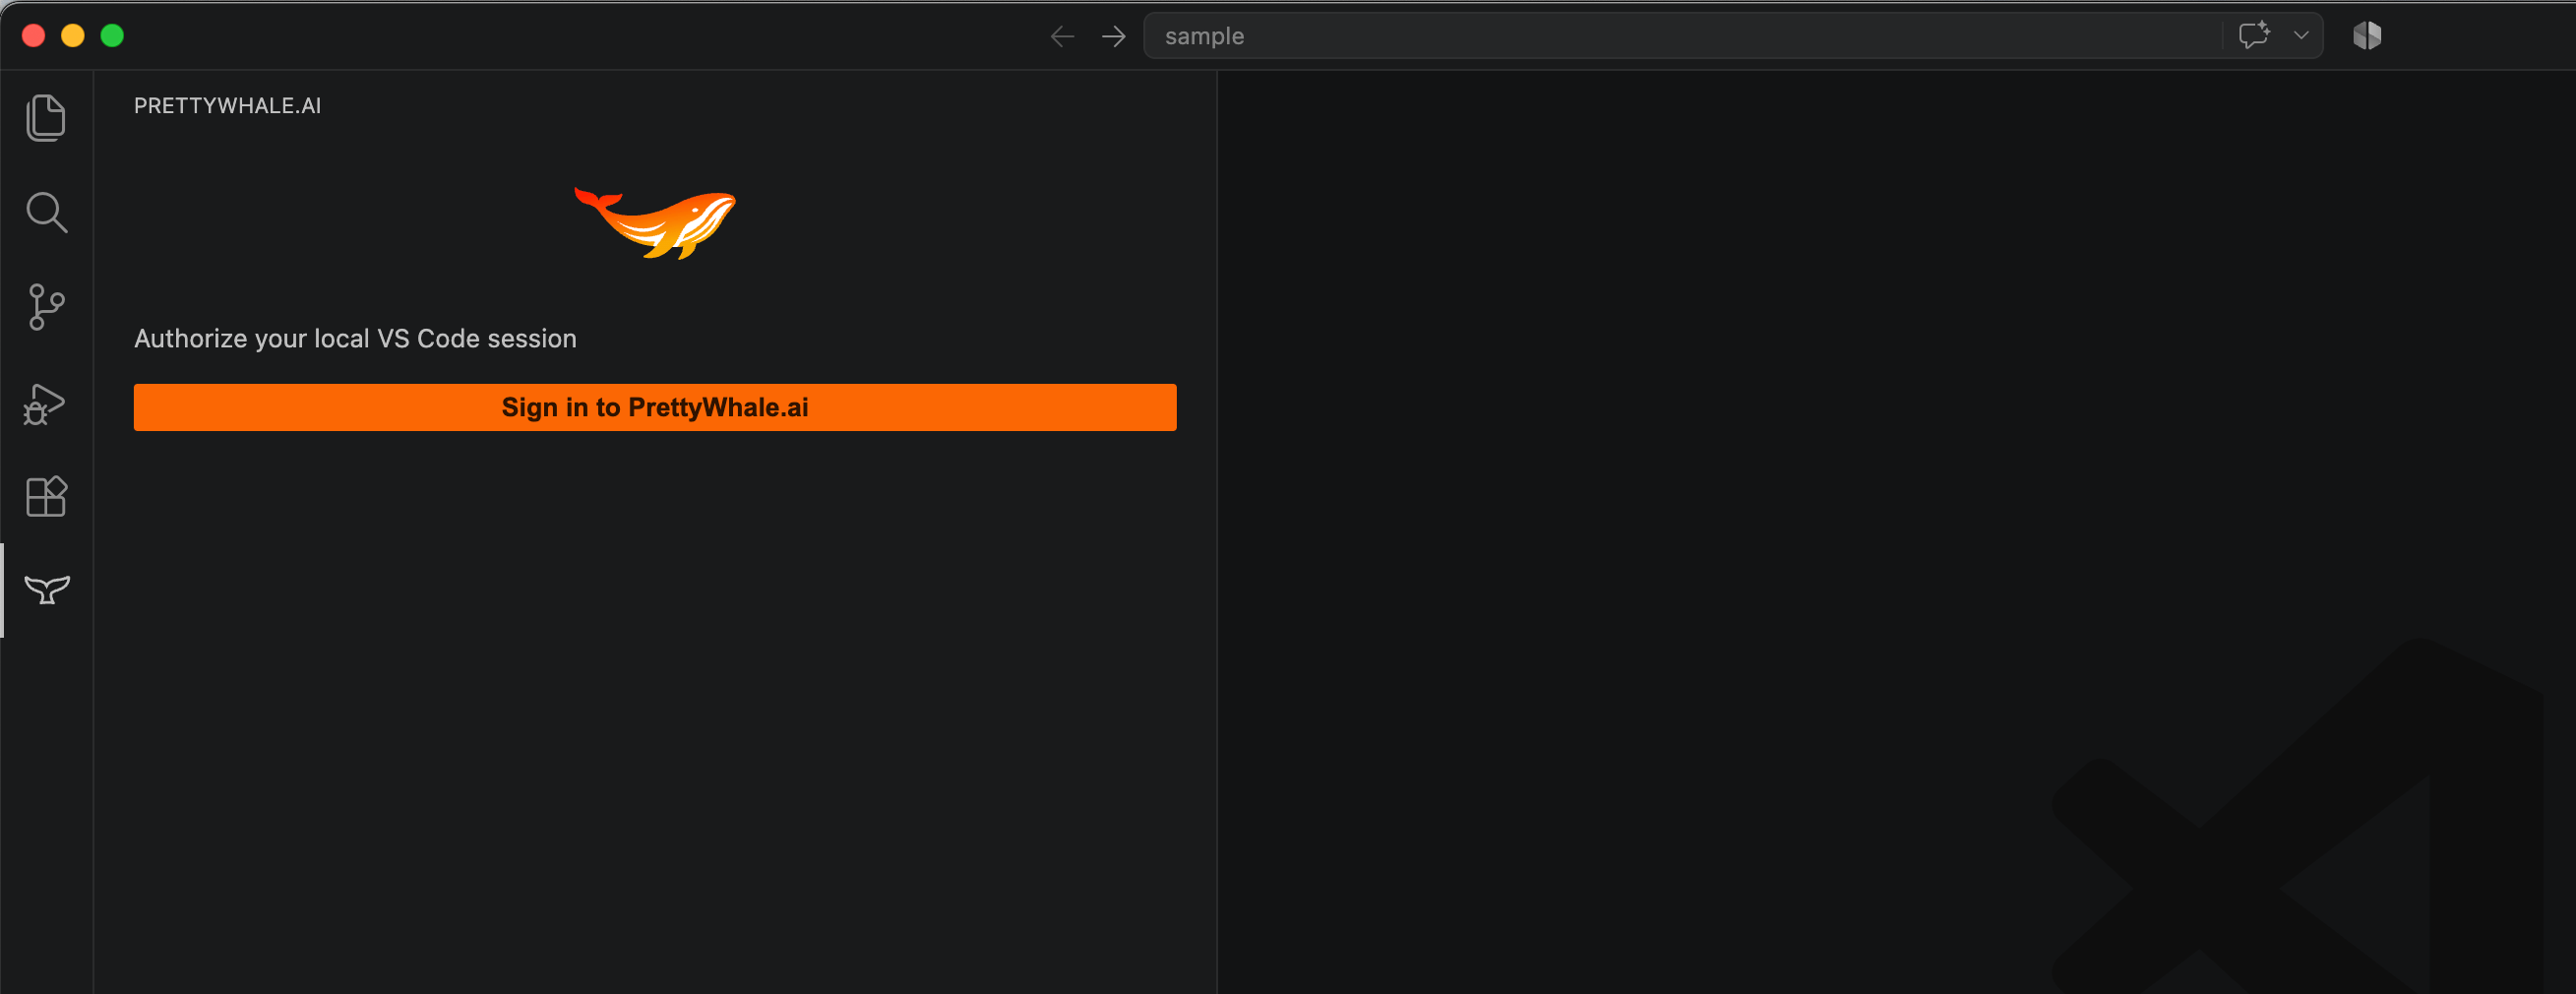
Search for the [PrettyWhale.ai](http://PrettyWhale.ai) extension in the VS Code Extensions section (left panel) and install it.
Once the extension is installed, click “Sign in,” and you'll be redirected to the login page in your browser.
If it's your first connection, use the link you received by email to set your password.
Once you're signed in, you can go back to the extension, you'll land on your pipeline dashboard where all your projects are listed.
 Click **New Session** from the panel. You'll be asked to upload your sample data file from your VS Code folder. For the moment, PrettyWhale.ai accepts JSON and CSV formats. Select your file and upload it.
PrettyWhale.ai immediately begins analyzing the structure, detecting field names, data types, value distributions and potential anomalies.
Here is an example of a valid JSON sample file if you want to test the solution: [sample.zip](https://kdrive.infomaniak.com/app/share/2205832/901d2003-4bb7-4ee2-80ff-be8cdaeee5e6)
You don't need to define a schema ahead, PrettyWhale.ai infers everything it needs from the sample content.
The sample file can not exceed 50k max.
After analysis completes, PrettyWhale.ai displays a field-level breakdown of your sample file. For each detected field you'll see:
* **Inferred data type** (e.g., string, integer, float, date, email)
* **Example values** drawn from your sample
* **Statistics** such as null rate, cardinality, and value range
You'll also see a summary of the issues found and improvements needed to ensure the quality of the data.
The, check or uncheck each field to control what is included in your pipeline scope. Fields you exclude won't appear in the generated ingestion code, tests, or schema, keeping your output clean and focused on what you actually need.
PrettyWhale.ai model suggests a set of transformations for each field you've selected. You can accept any suggestion as-is, modify it or remove it.
Common suggestions include normalizing date formats, trimming leading and trailing whitespace from strings, standardizing text casing, and validating patterns like email addresses or phone numbers.
Once you're satisfied with the transformation configuration, click **Continue** to proceed to the Output Generation step. Yes. At the end of the generation cycle, the pipeline is executed on our infrastructure before it is packaged. It runs on the sample you provided and the tests are also executed. Thus, what lands in your repository has already been executed.
Click **New Session** from the panel. You'll be asked to upload your sample data file from your VS Code folder. For the moment, PrettyWhale.ai accepts JSON and CSV formats. Select your file and upload it.
PrettyWhale.ai immediately begins analyzing the structure, detecting field names, data types, value distributions and potential anomalies.
Here is an example of a valid JSON sample file if you want to test the solution: [sample.zip](https://kdrive.infomaniak.com/app/share/2205832/901d2003-4bb7-4ee2-80ff-be8cdaeee5e6)
You don't need to define a schema ahead, PrettyWhale.ai infers everything it needs from the sample content.
The sample file can not exceed 50k max.
After analysis completes, PrettyWhale.ai displays a field-level breakdown of your sample file. For each detected field you'll see:
* **Inferred data type** (e.g., string, integer, float, date, email)
* **Example values** drawn from your sample
* **Statistics** such as null rate, cardinality, and value range
You'll also see a summary of the issues found and improvements needed to ensure the quality of the data.
The, check or uncheck each field to control what is included in your pipeline scope. Fields you exclude won't appear in the generated ingestion code, tests, or schema, keeping your output clean and focused on what you actually need.
PrettyWhale.ai model suggests a set of transformations for each field you've selected. You can accept any suggestion as-is, modify it or remove it.
Common suggestions include normalizing date formats, trimming leading and trailing whitespace from strings, standardizing text casing, and validating patterns like email addresses or phone numbers.
Once you're satisfied with the transformation configuration, click **Continue** to proceed to the Output Generation step. Yes. At the end of the generation cycle, the pipeline is executed on our infrastructure before it is packaged. It runs on the sample you provided and the tests are also executed. Thus, what lands in your repository has already been executed.