

Prerequisites
Before you begin, make sure you have the following:- A PrettyWhale.ai account (If you’re not sure, please contact your company administrator or our sales team)
- A data sample file : a sample in JSON or CSV format containing field names and values from the dataset you want to ingest
- An access to VS Code
- An internet connection
If you don’t have an account yet, please contact your company administrator or our sales team.
Generate Your First Pipeline
1
Install PrettyWhale.ai extension
Search for the PrettyWhale.ai extension in the VS Code Extensions section (left panel) and install it.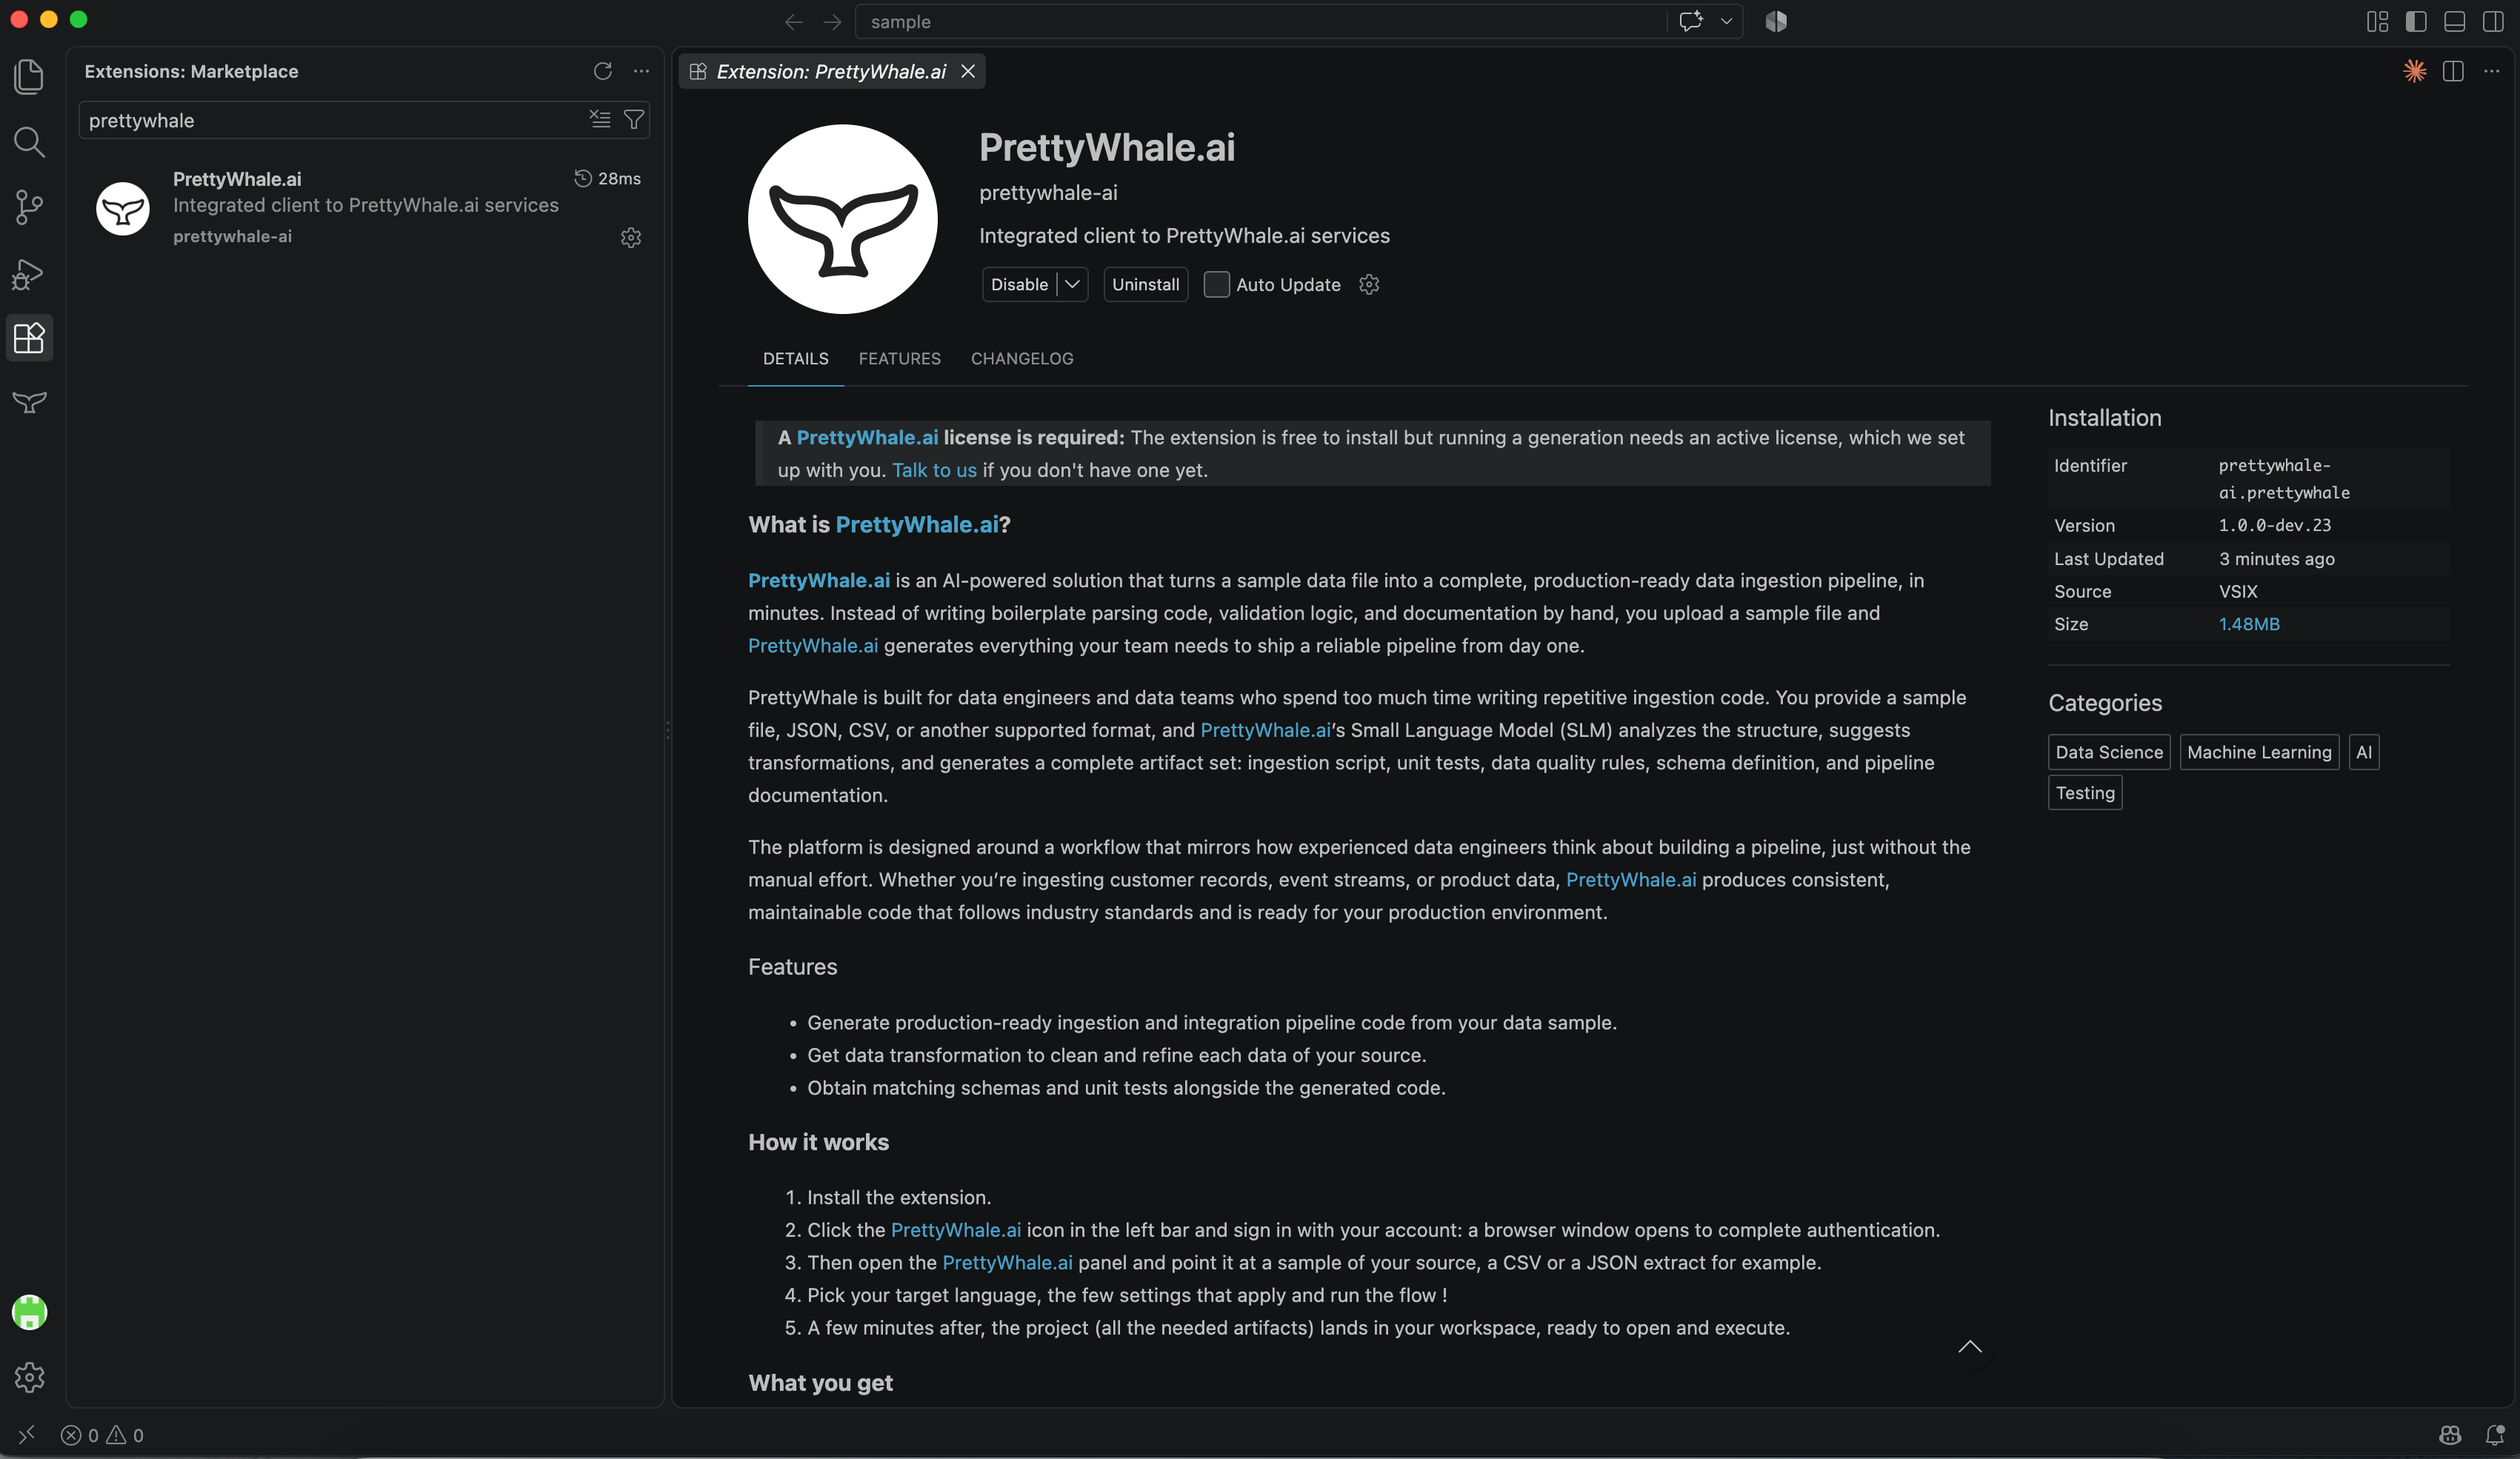
2
Sign in
Once the extension is installed, click “Sign in,” and you’ll be redirected to the login page in your browser. If it’s your first connection, use the link you received by email to set your password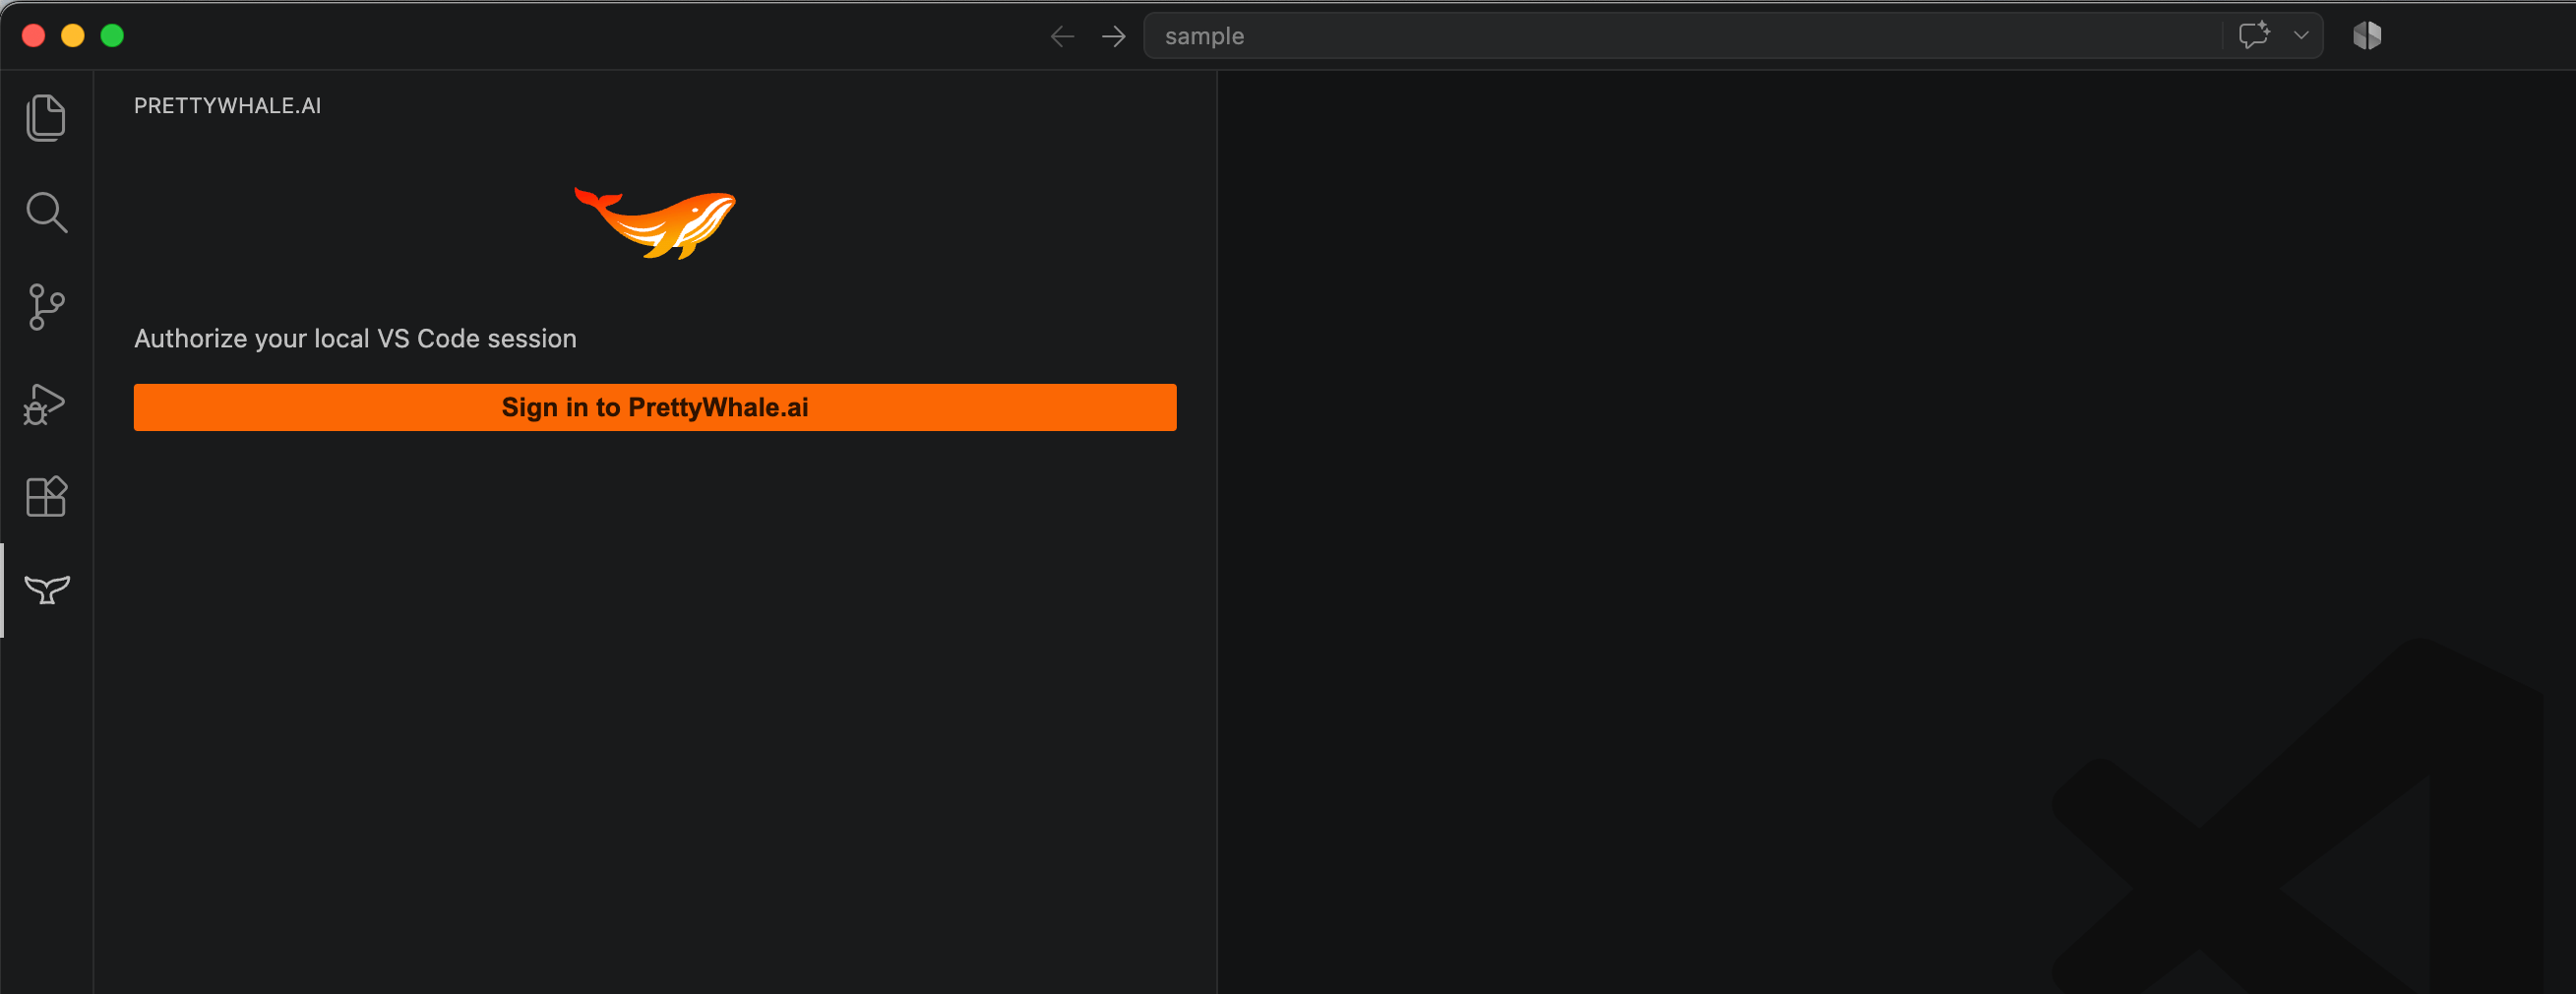
3
Import your sample file
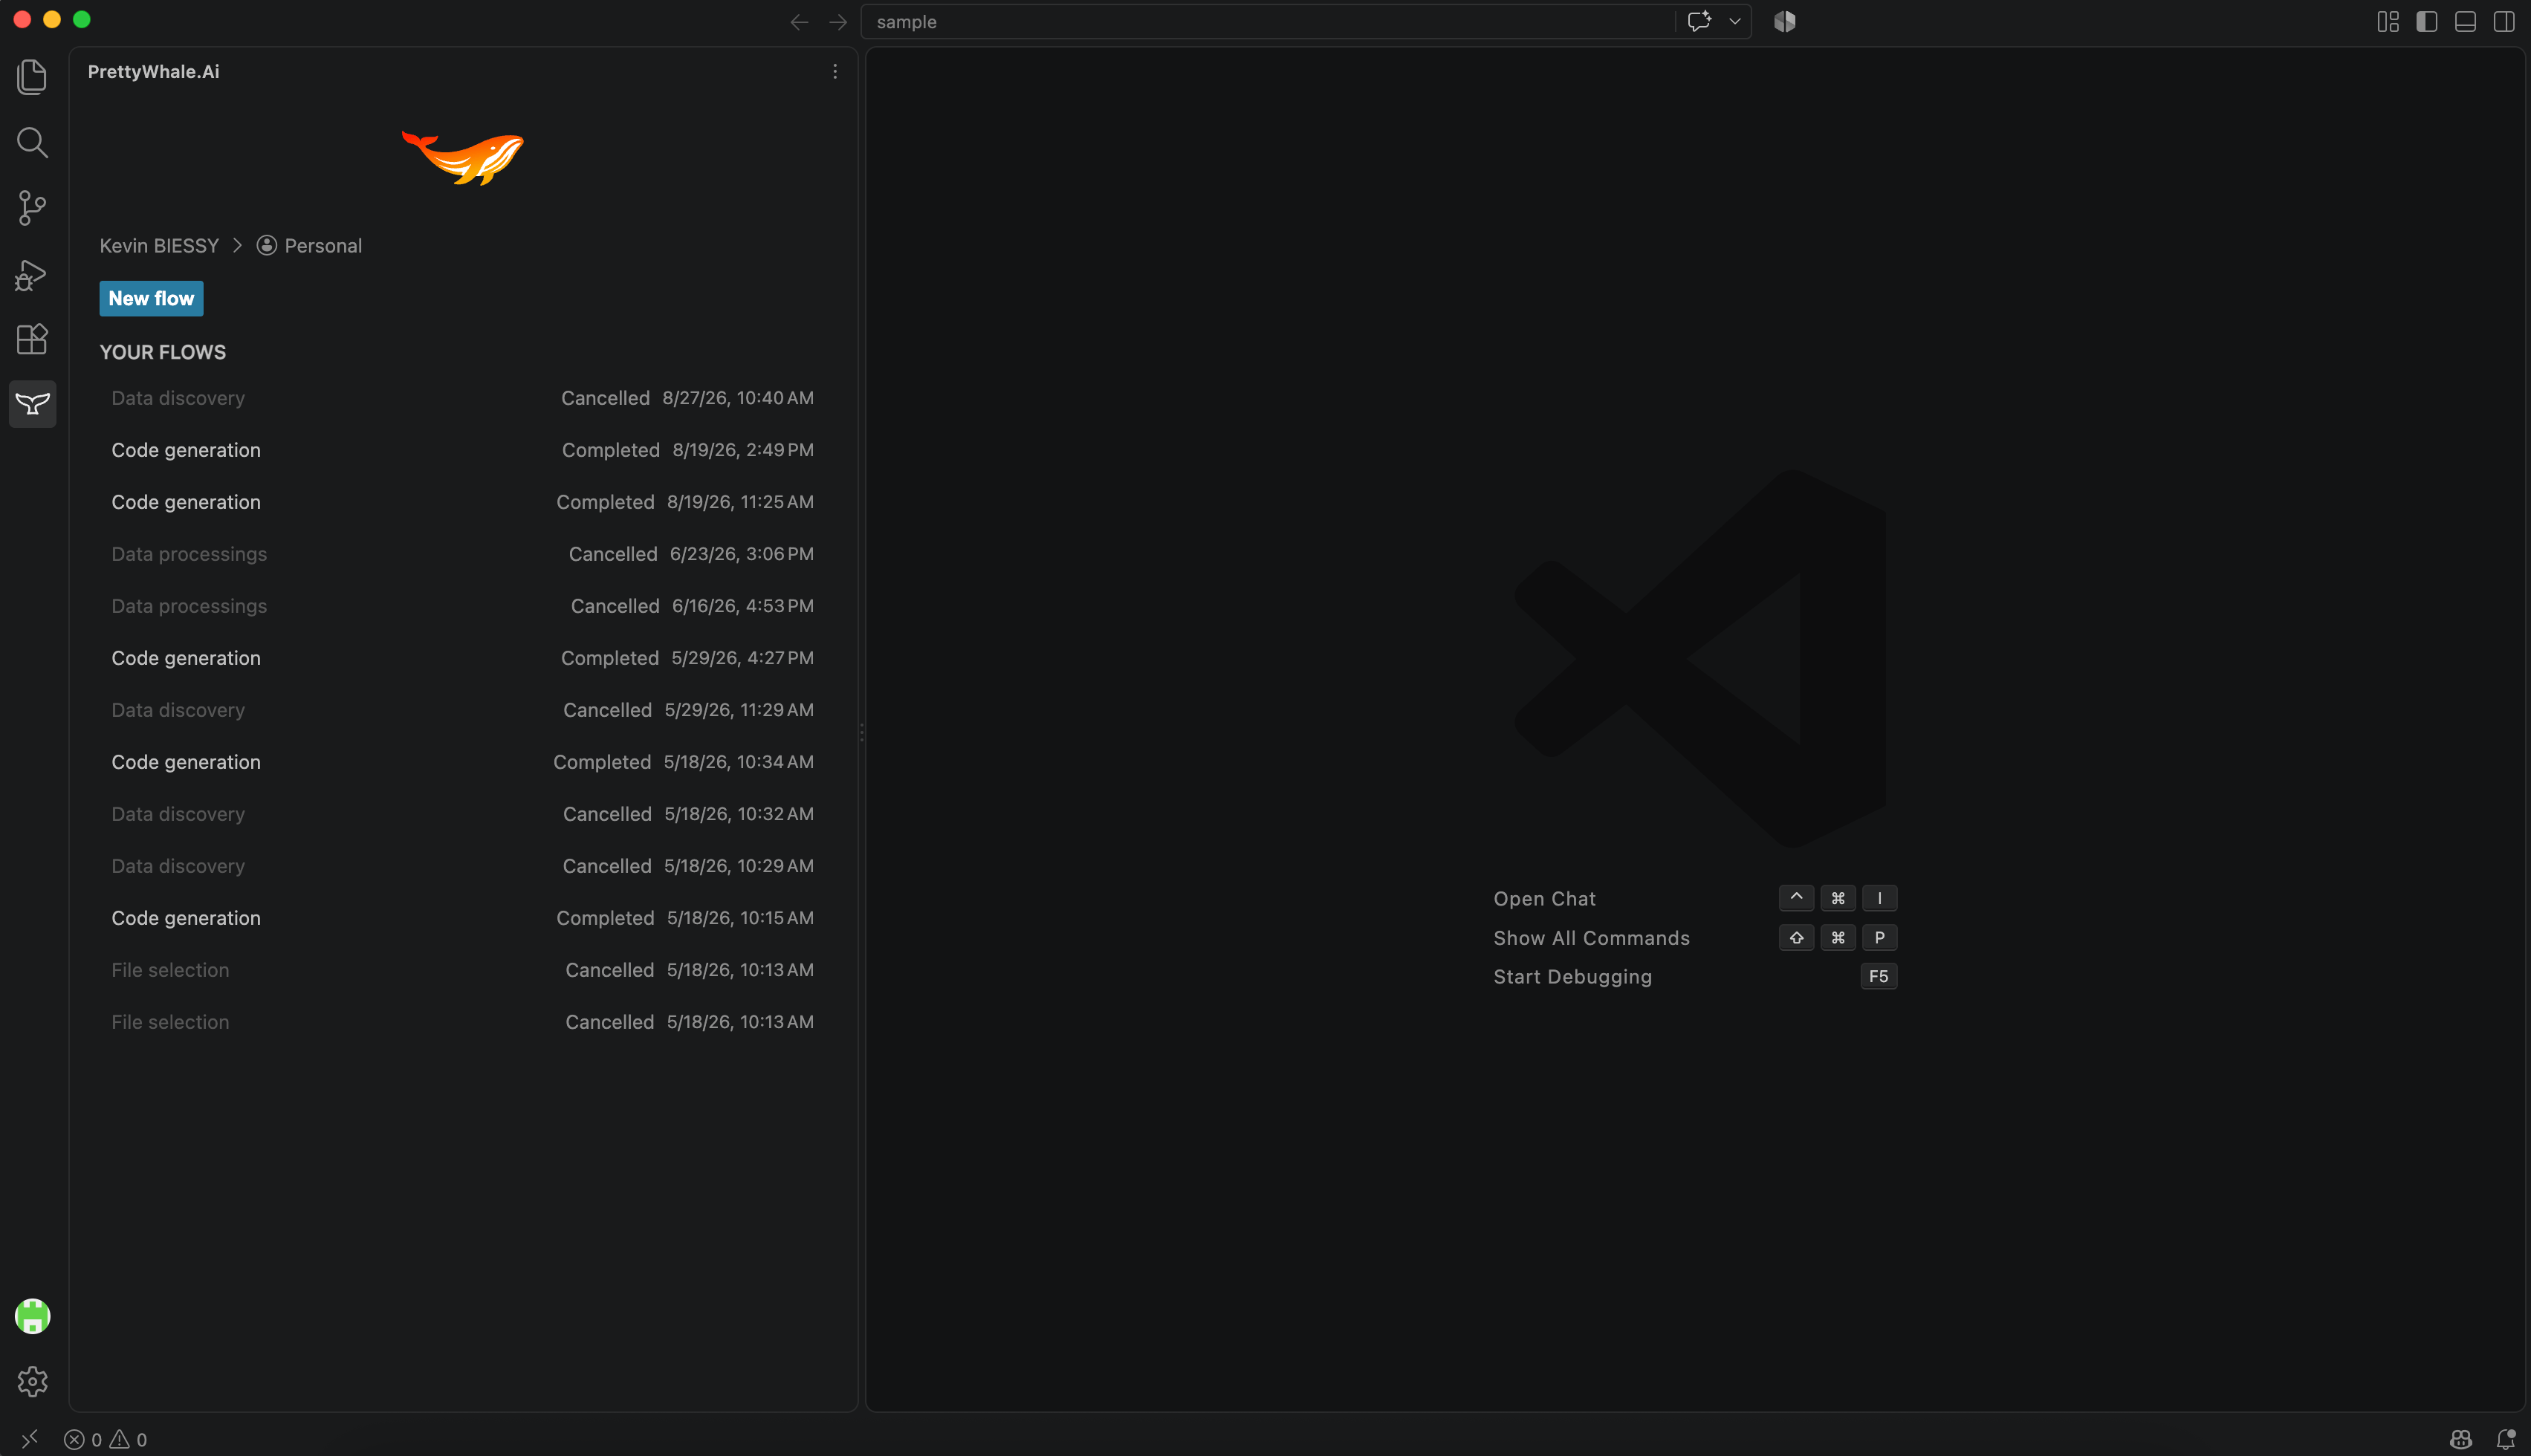
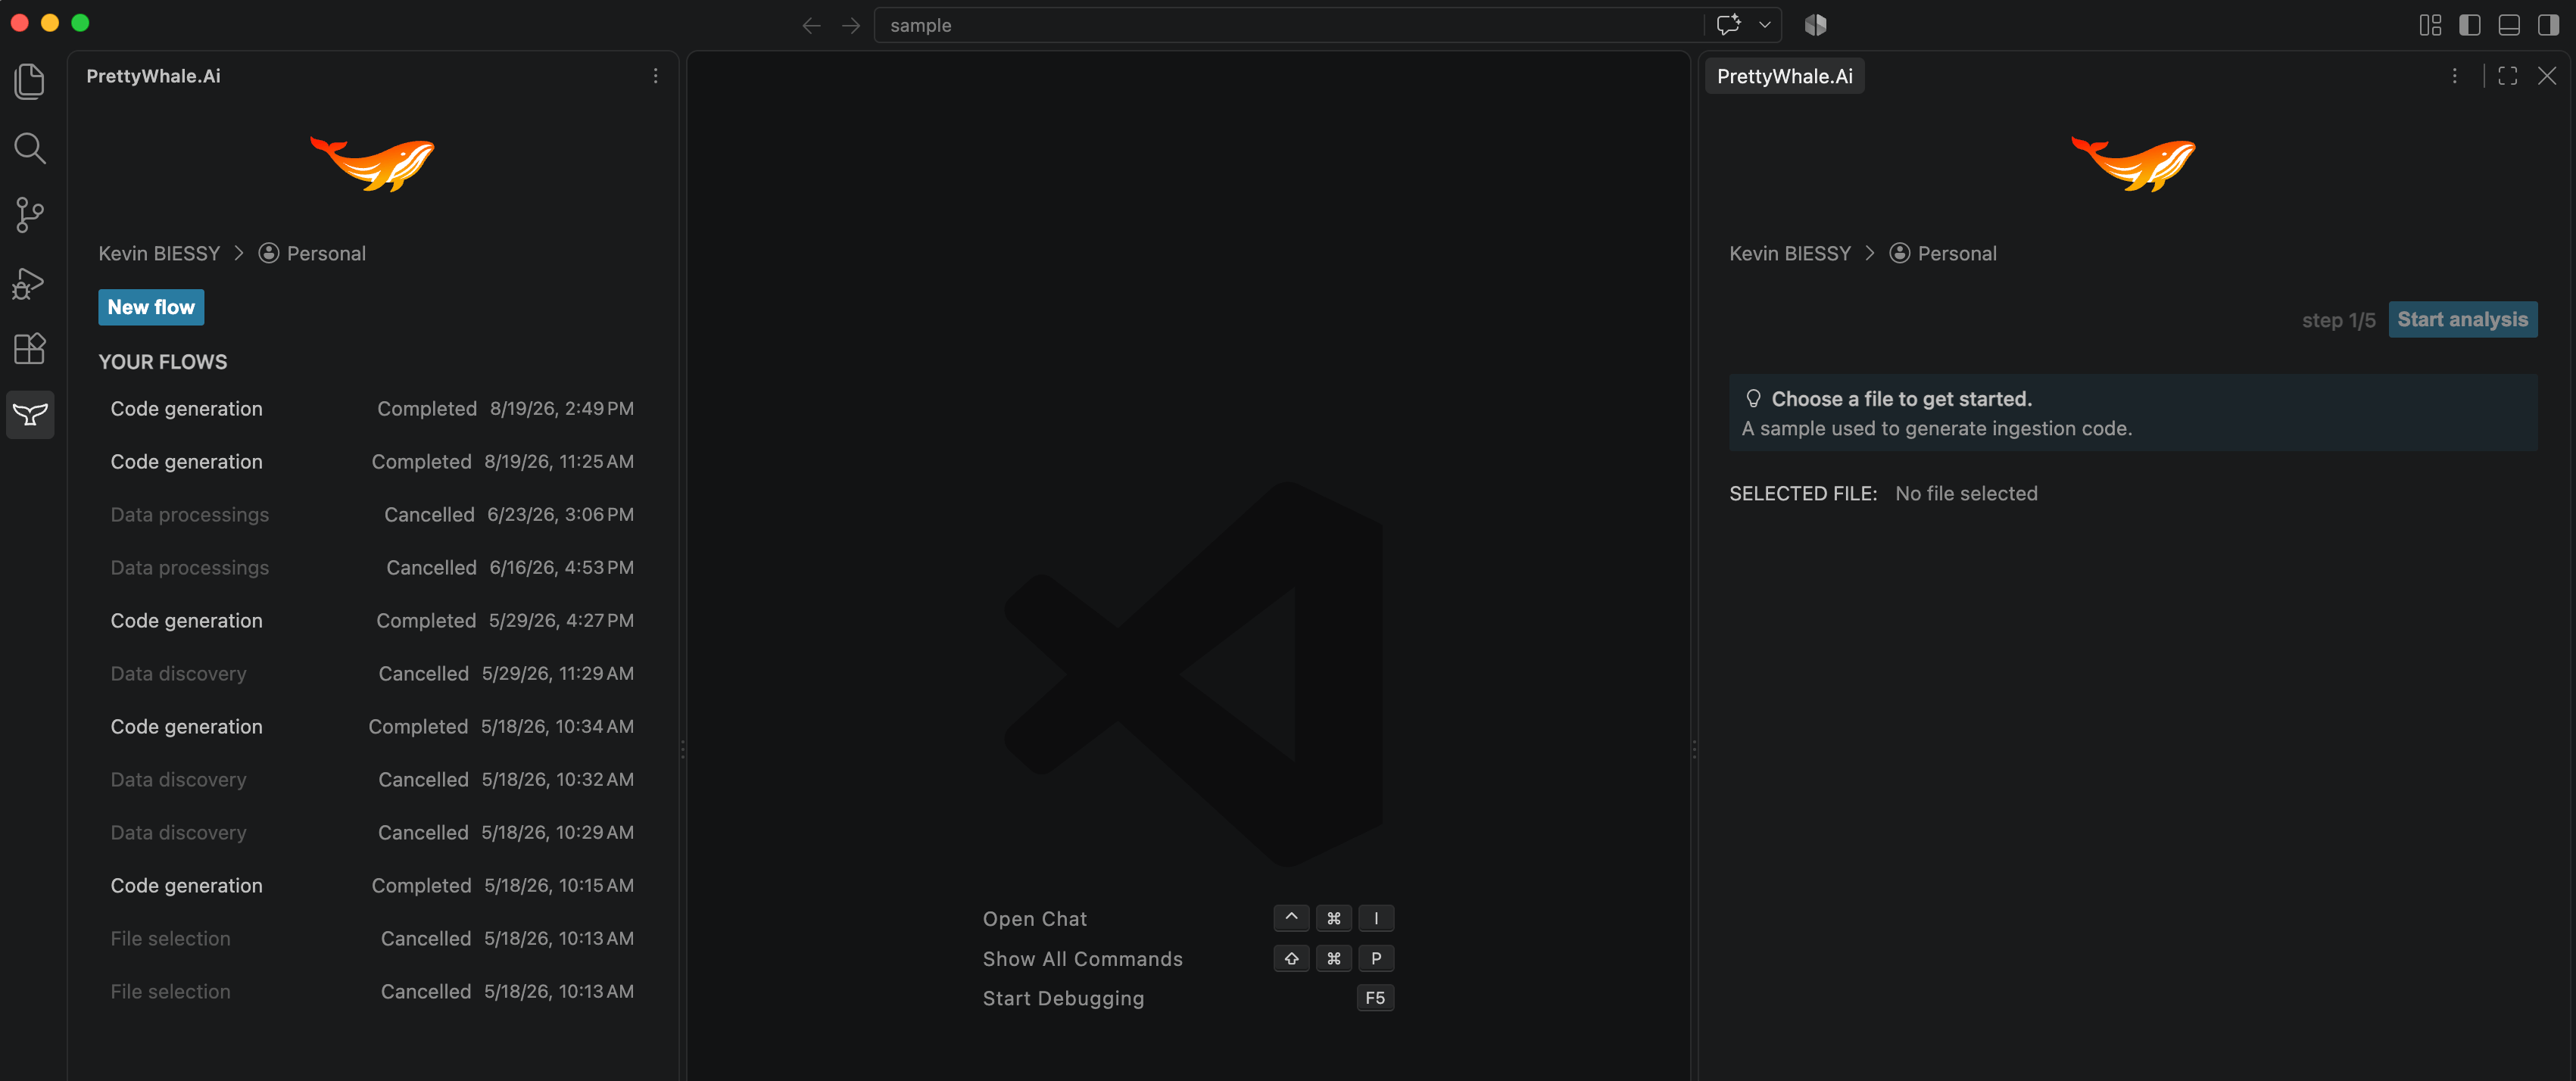
Click New flow from the panel. You’ll be asked to upload your sample data file from your VS Code folder. For the moment, PrettyWhale.ai accepts JSON and CSV formats.Select your file, choose the first setting option and click Start analysis: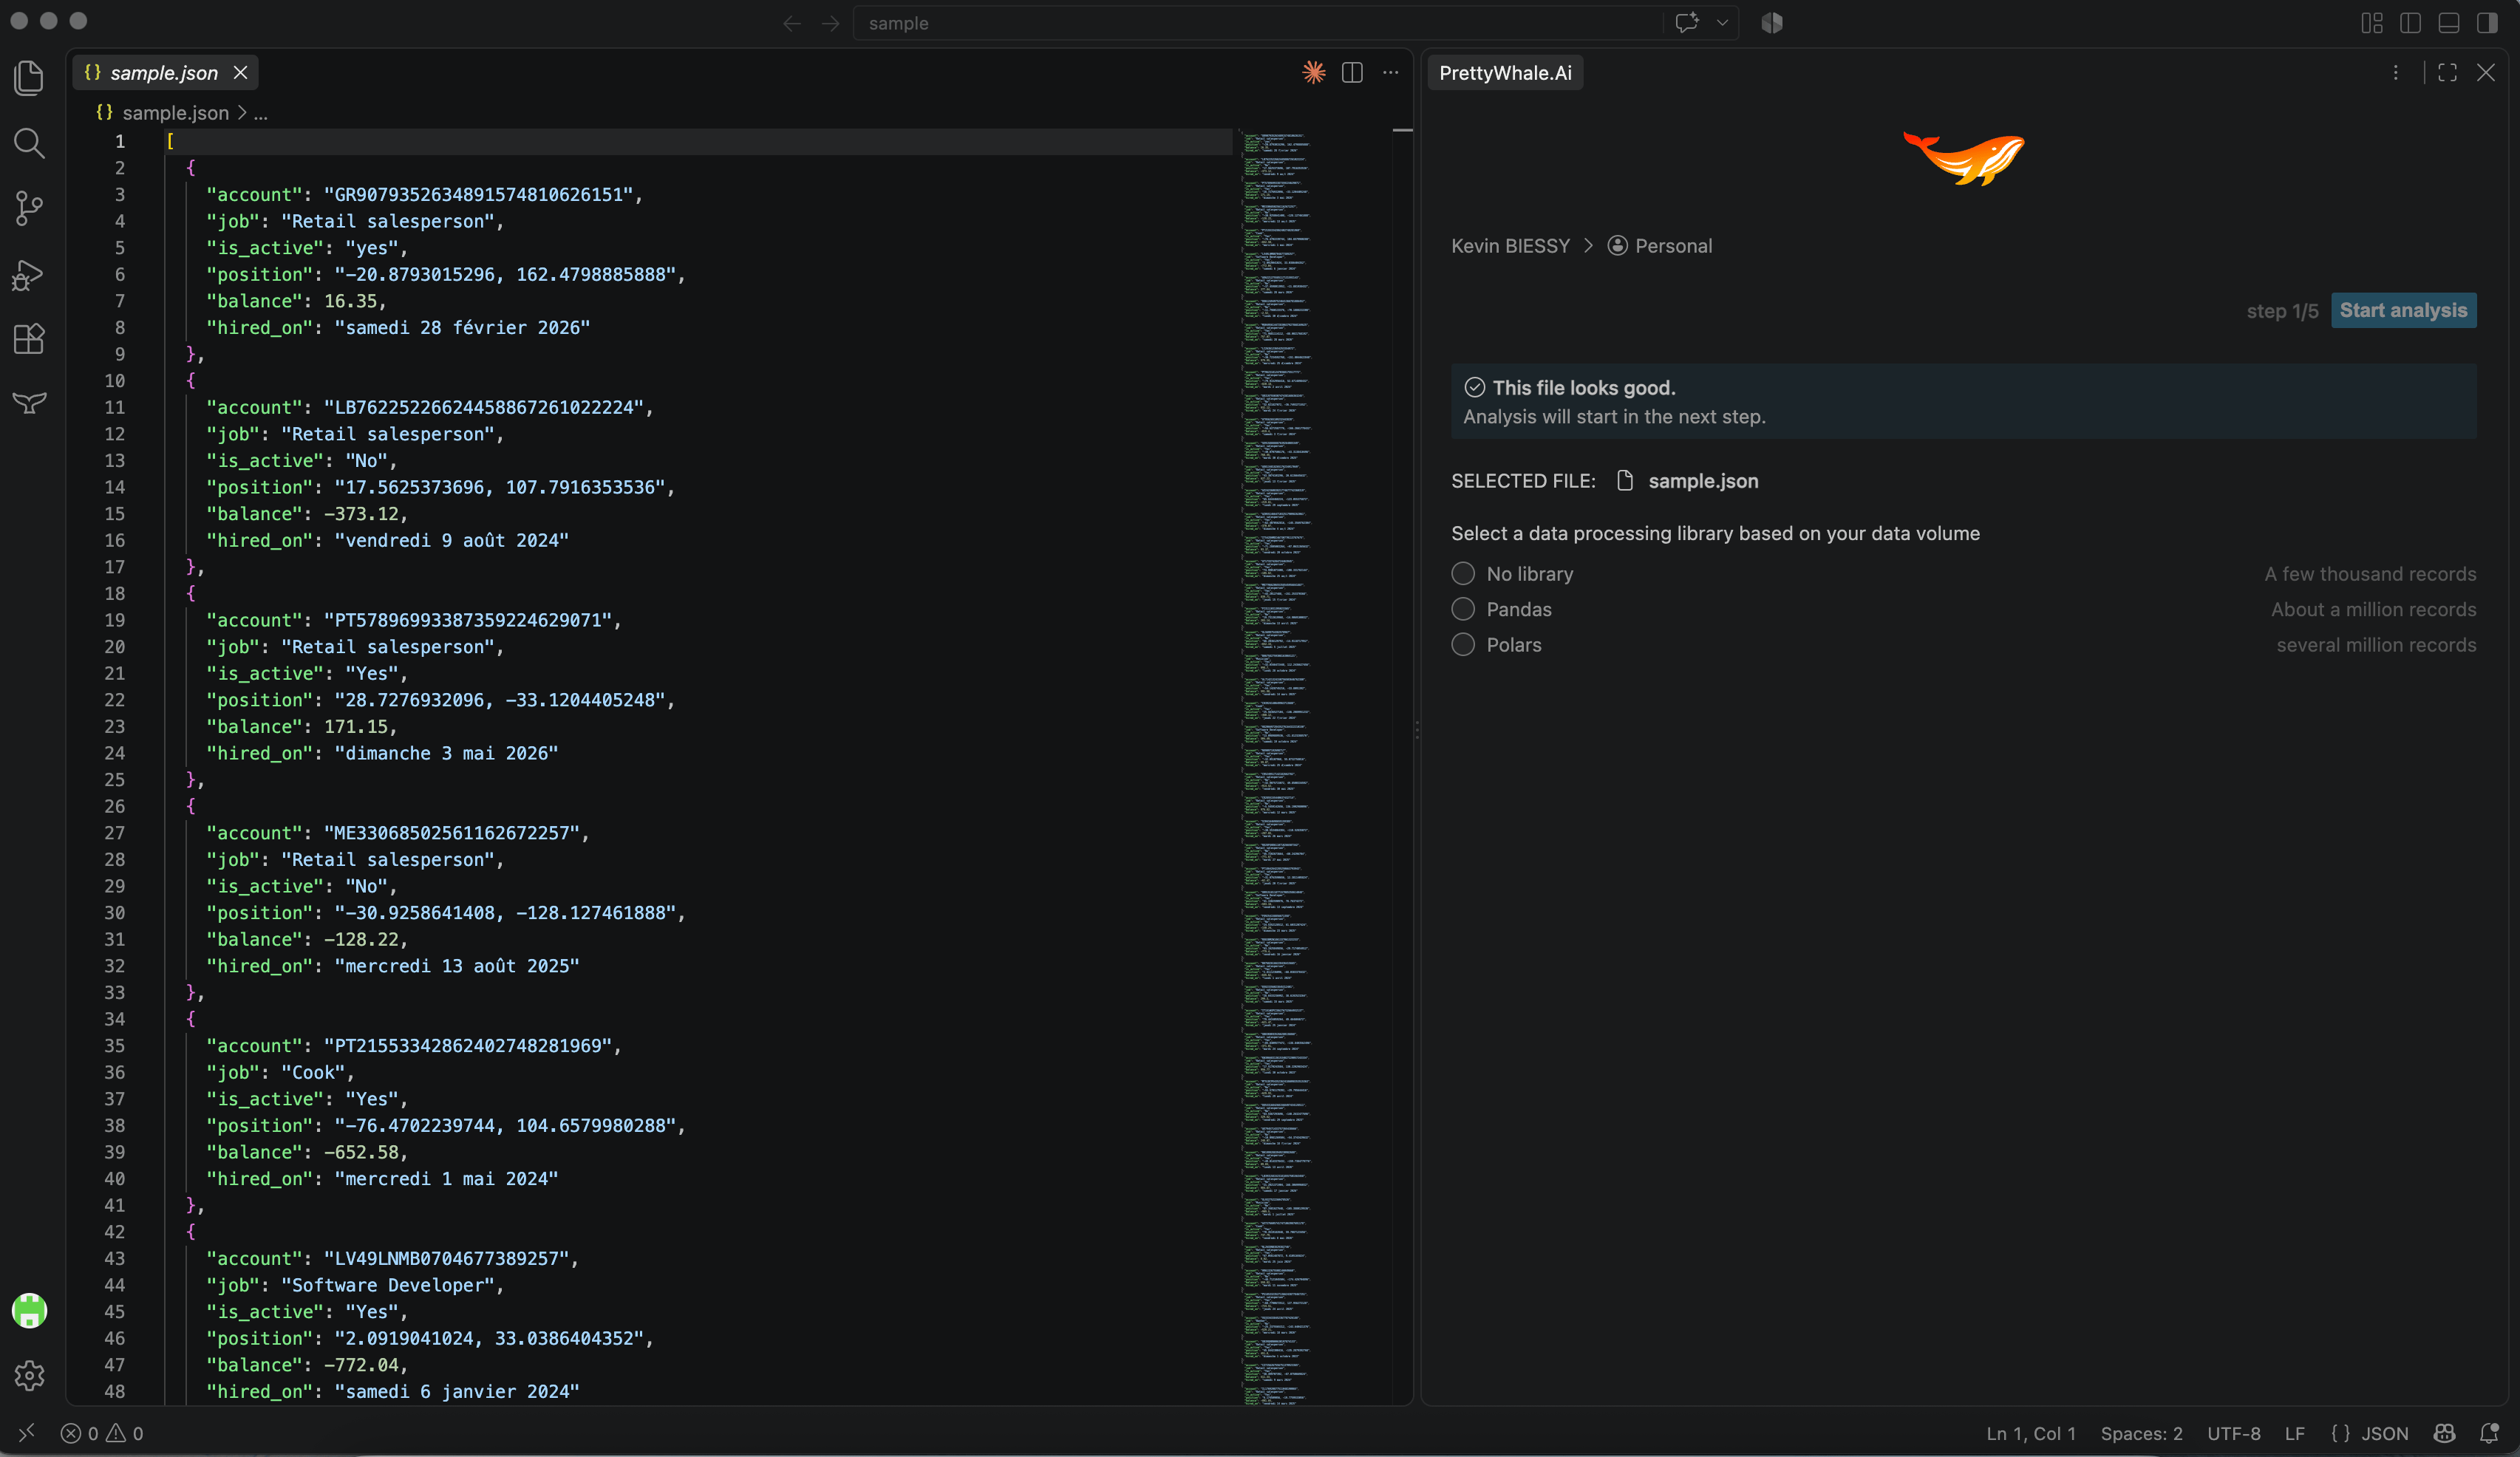
4
Review the Data discovery and select your fields
PrettyWhale.ai immediately begins analyzing the structure, detecting field names, data types, value distributions and potential anomalies: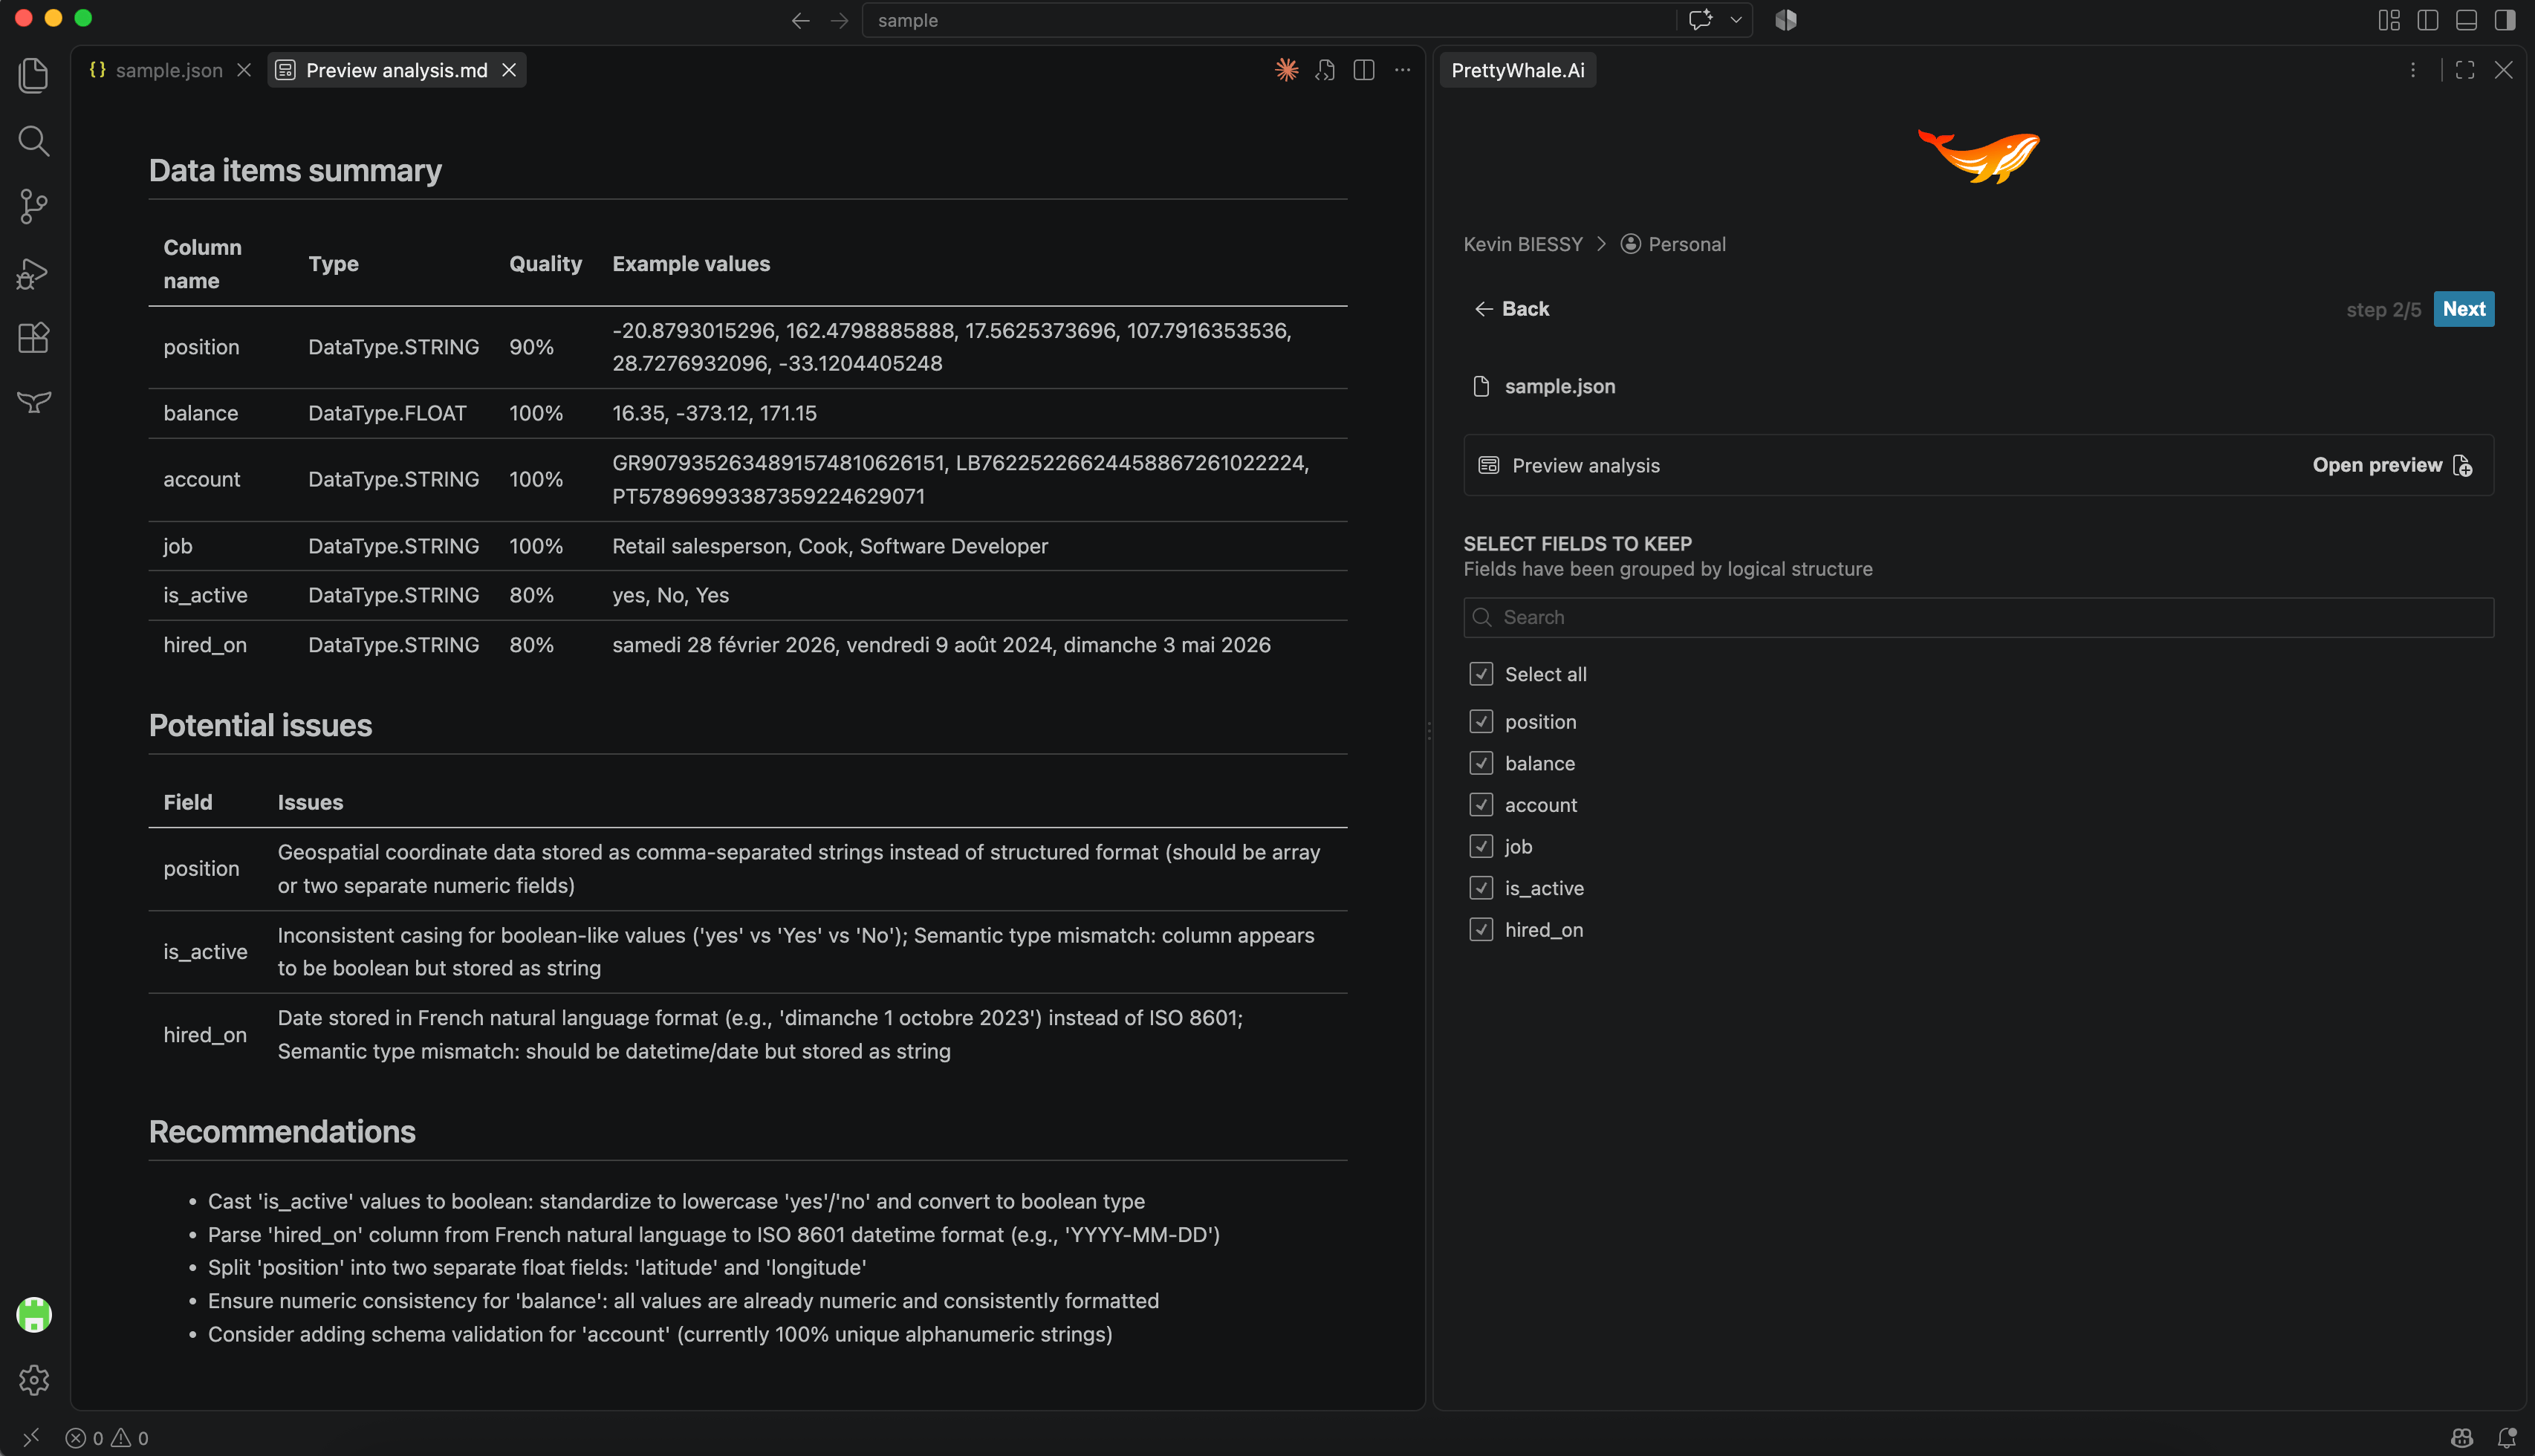
- Inferred data type
- Example values drawn from your sample
5
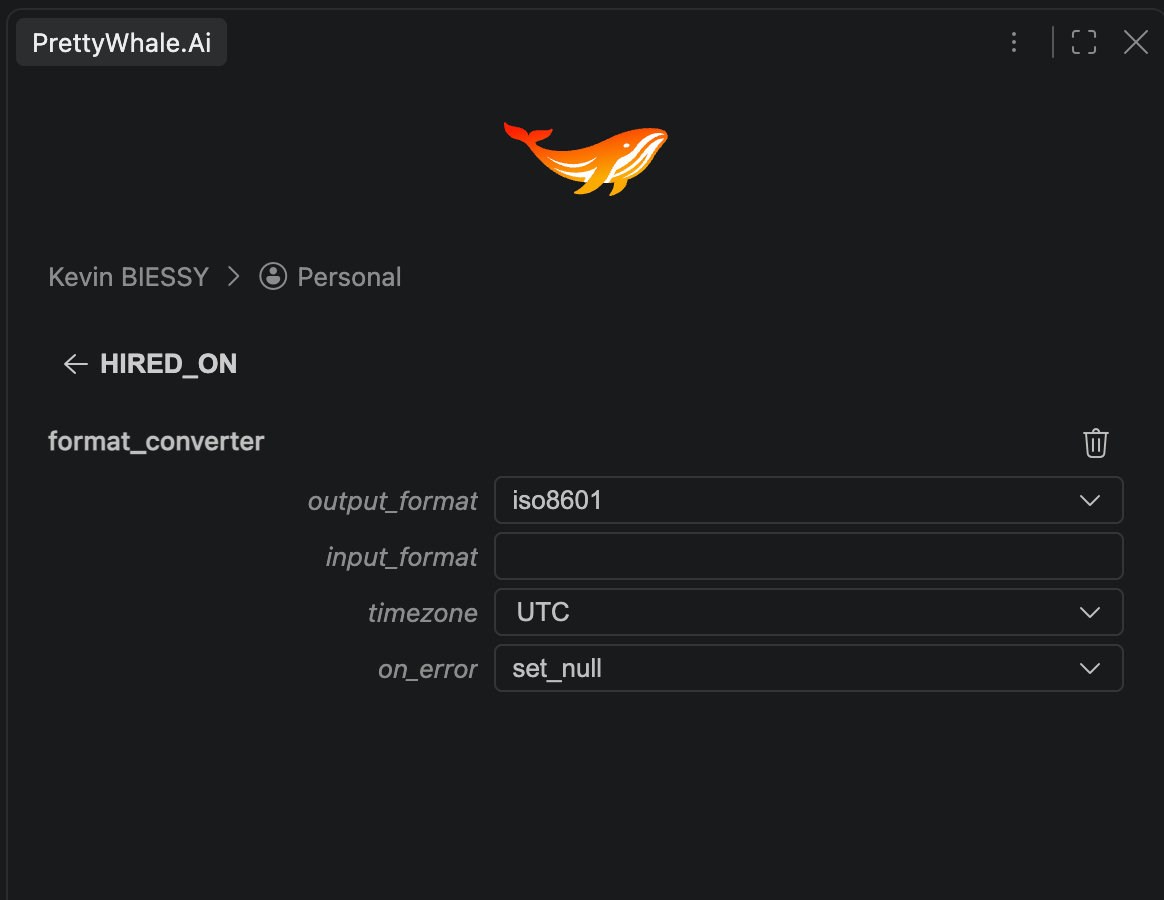
Review and configure transformations
PrettyWhale.ai model suggests a set of transformations for each field you’ve selected: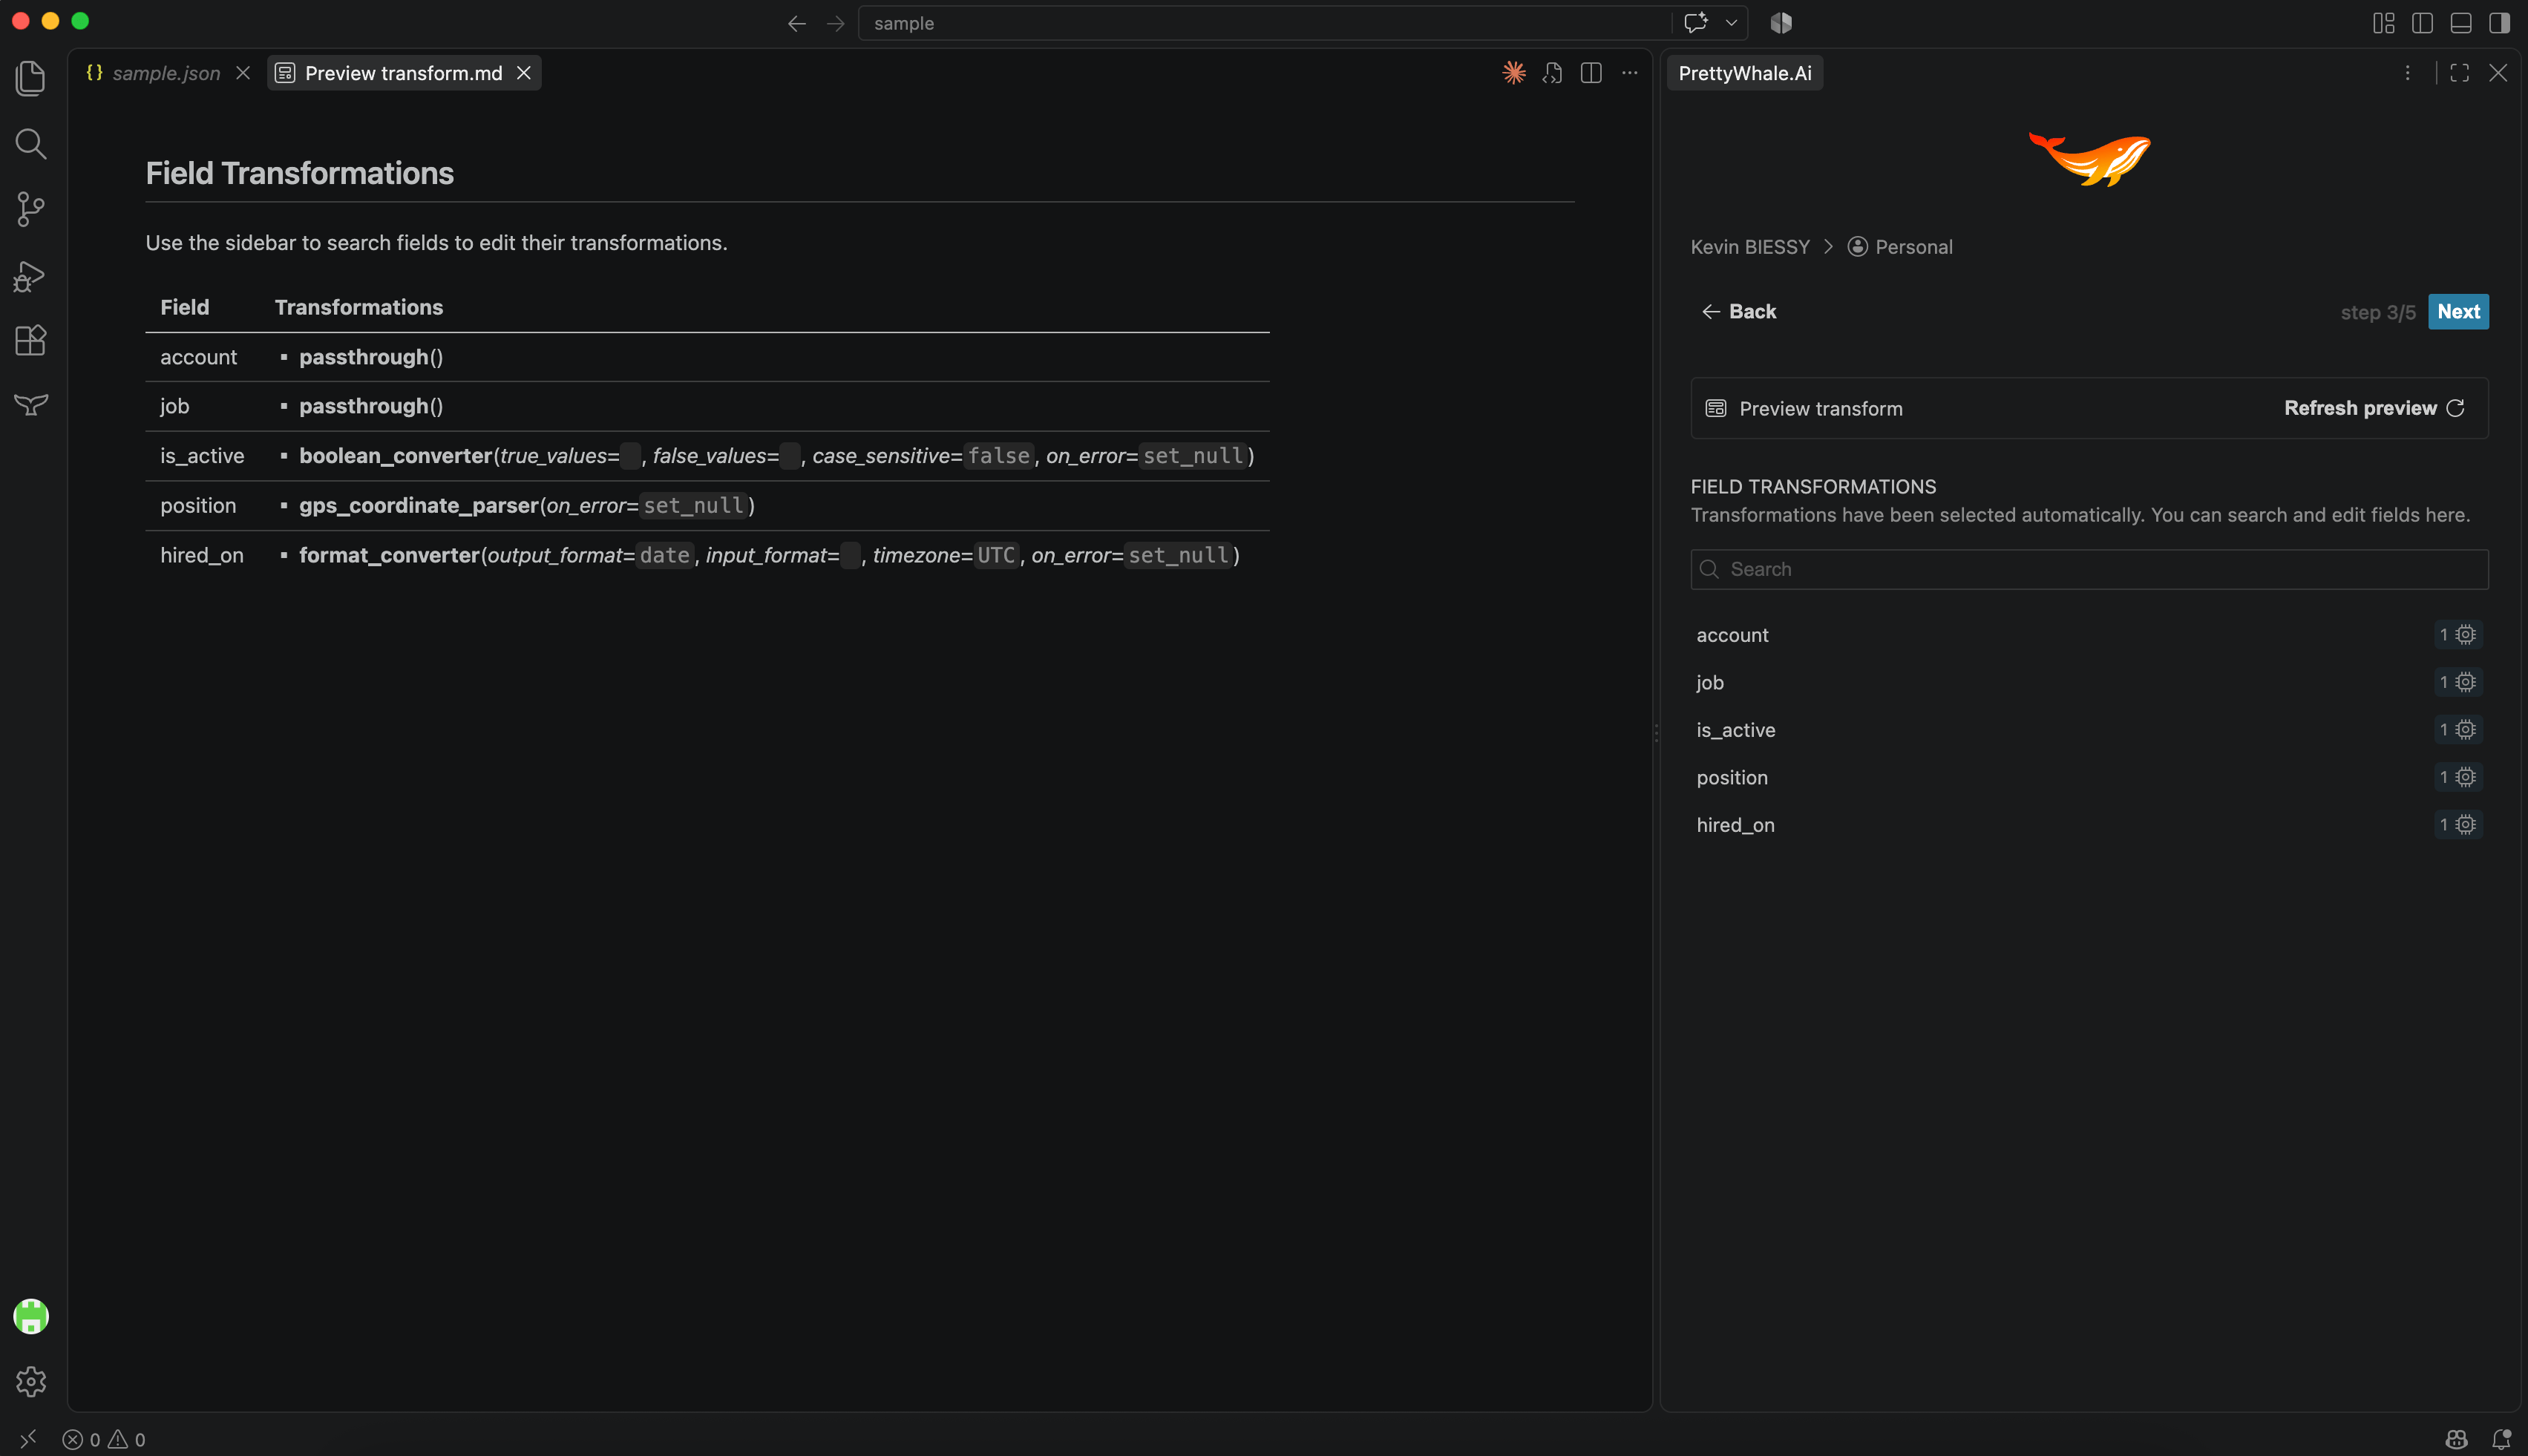
6
Output Generation
This final step allows you to choose the target output format for the data. Once you have made your selection, you can let the model generate your pipeline: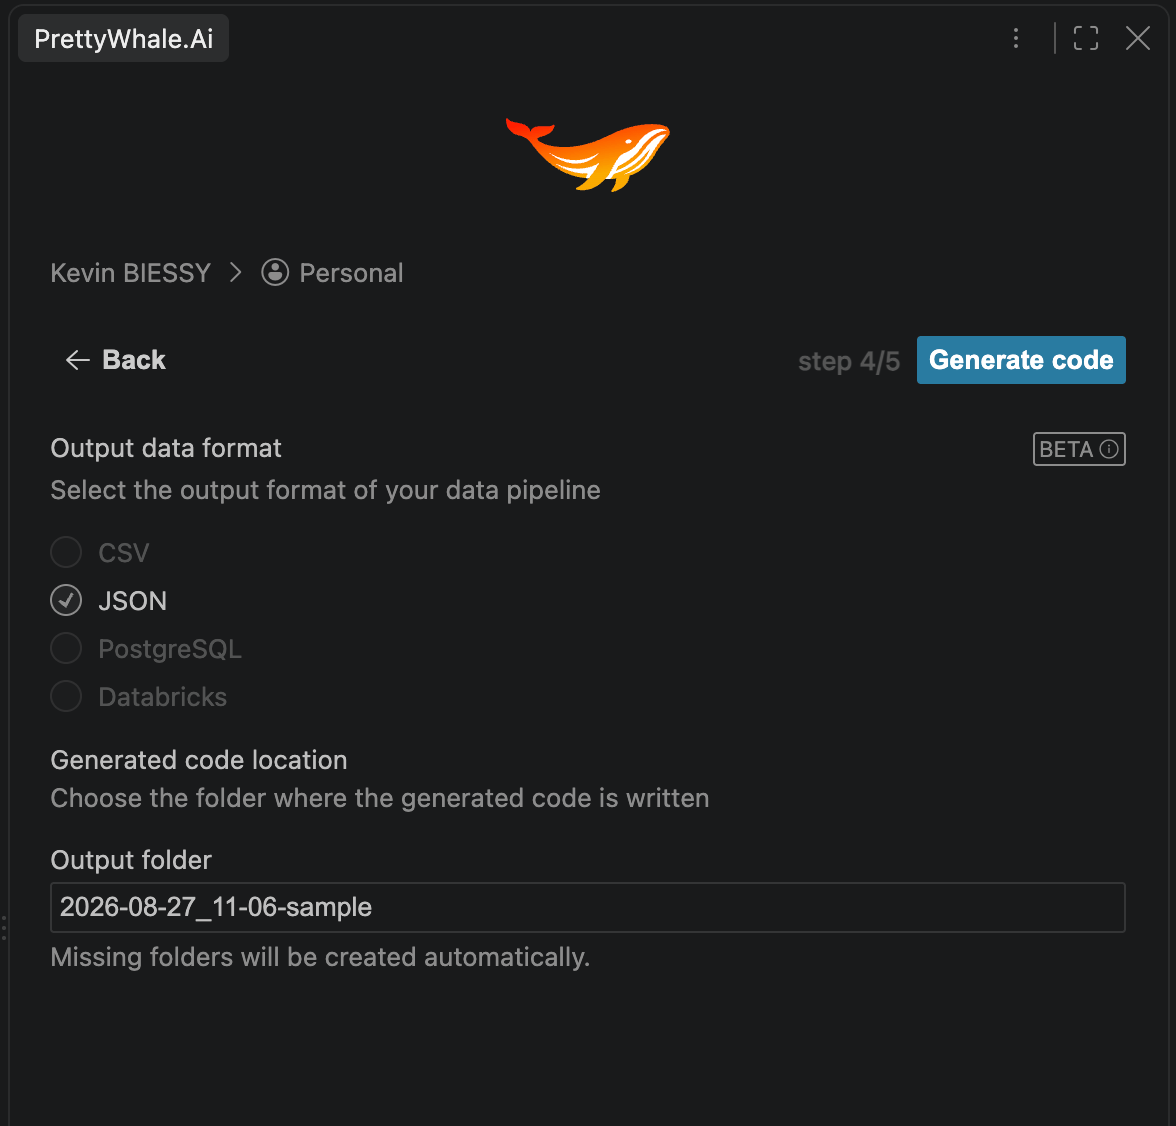
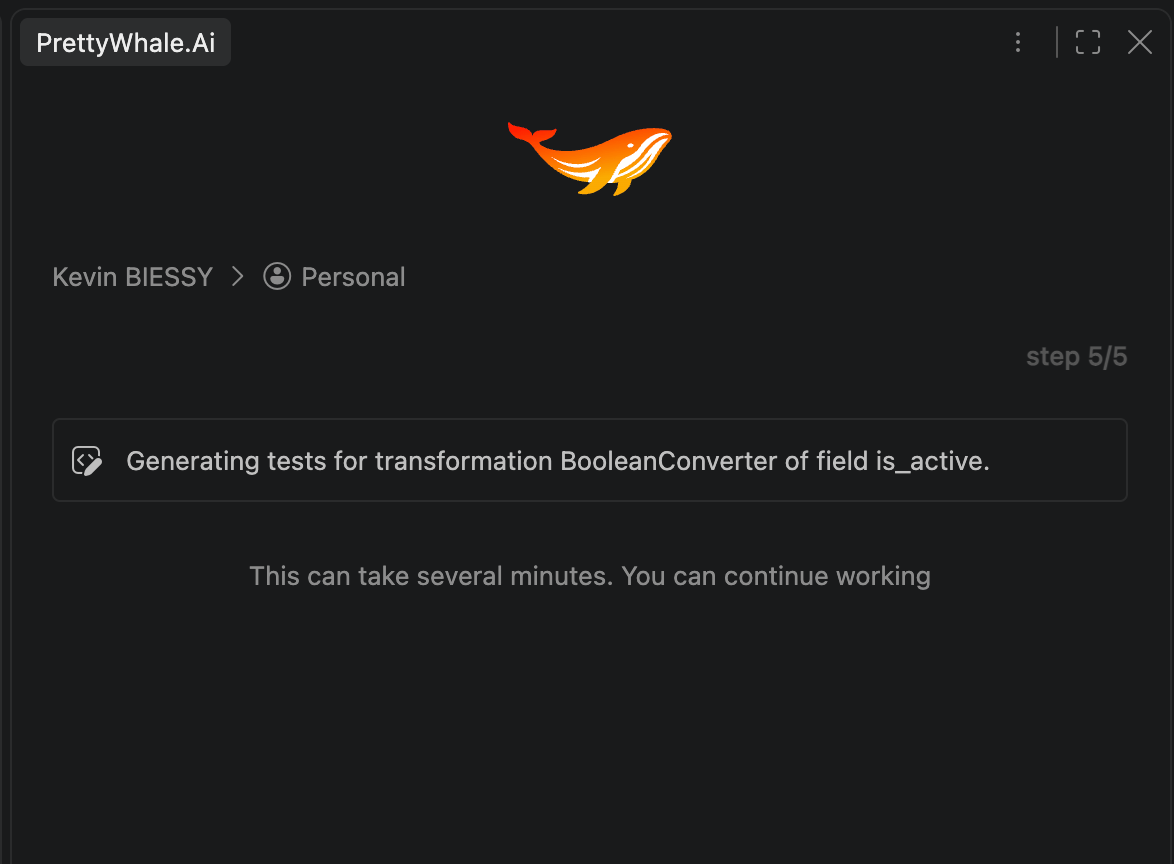
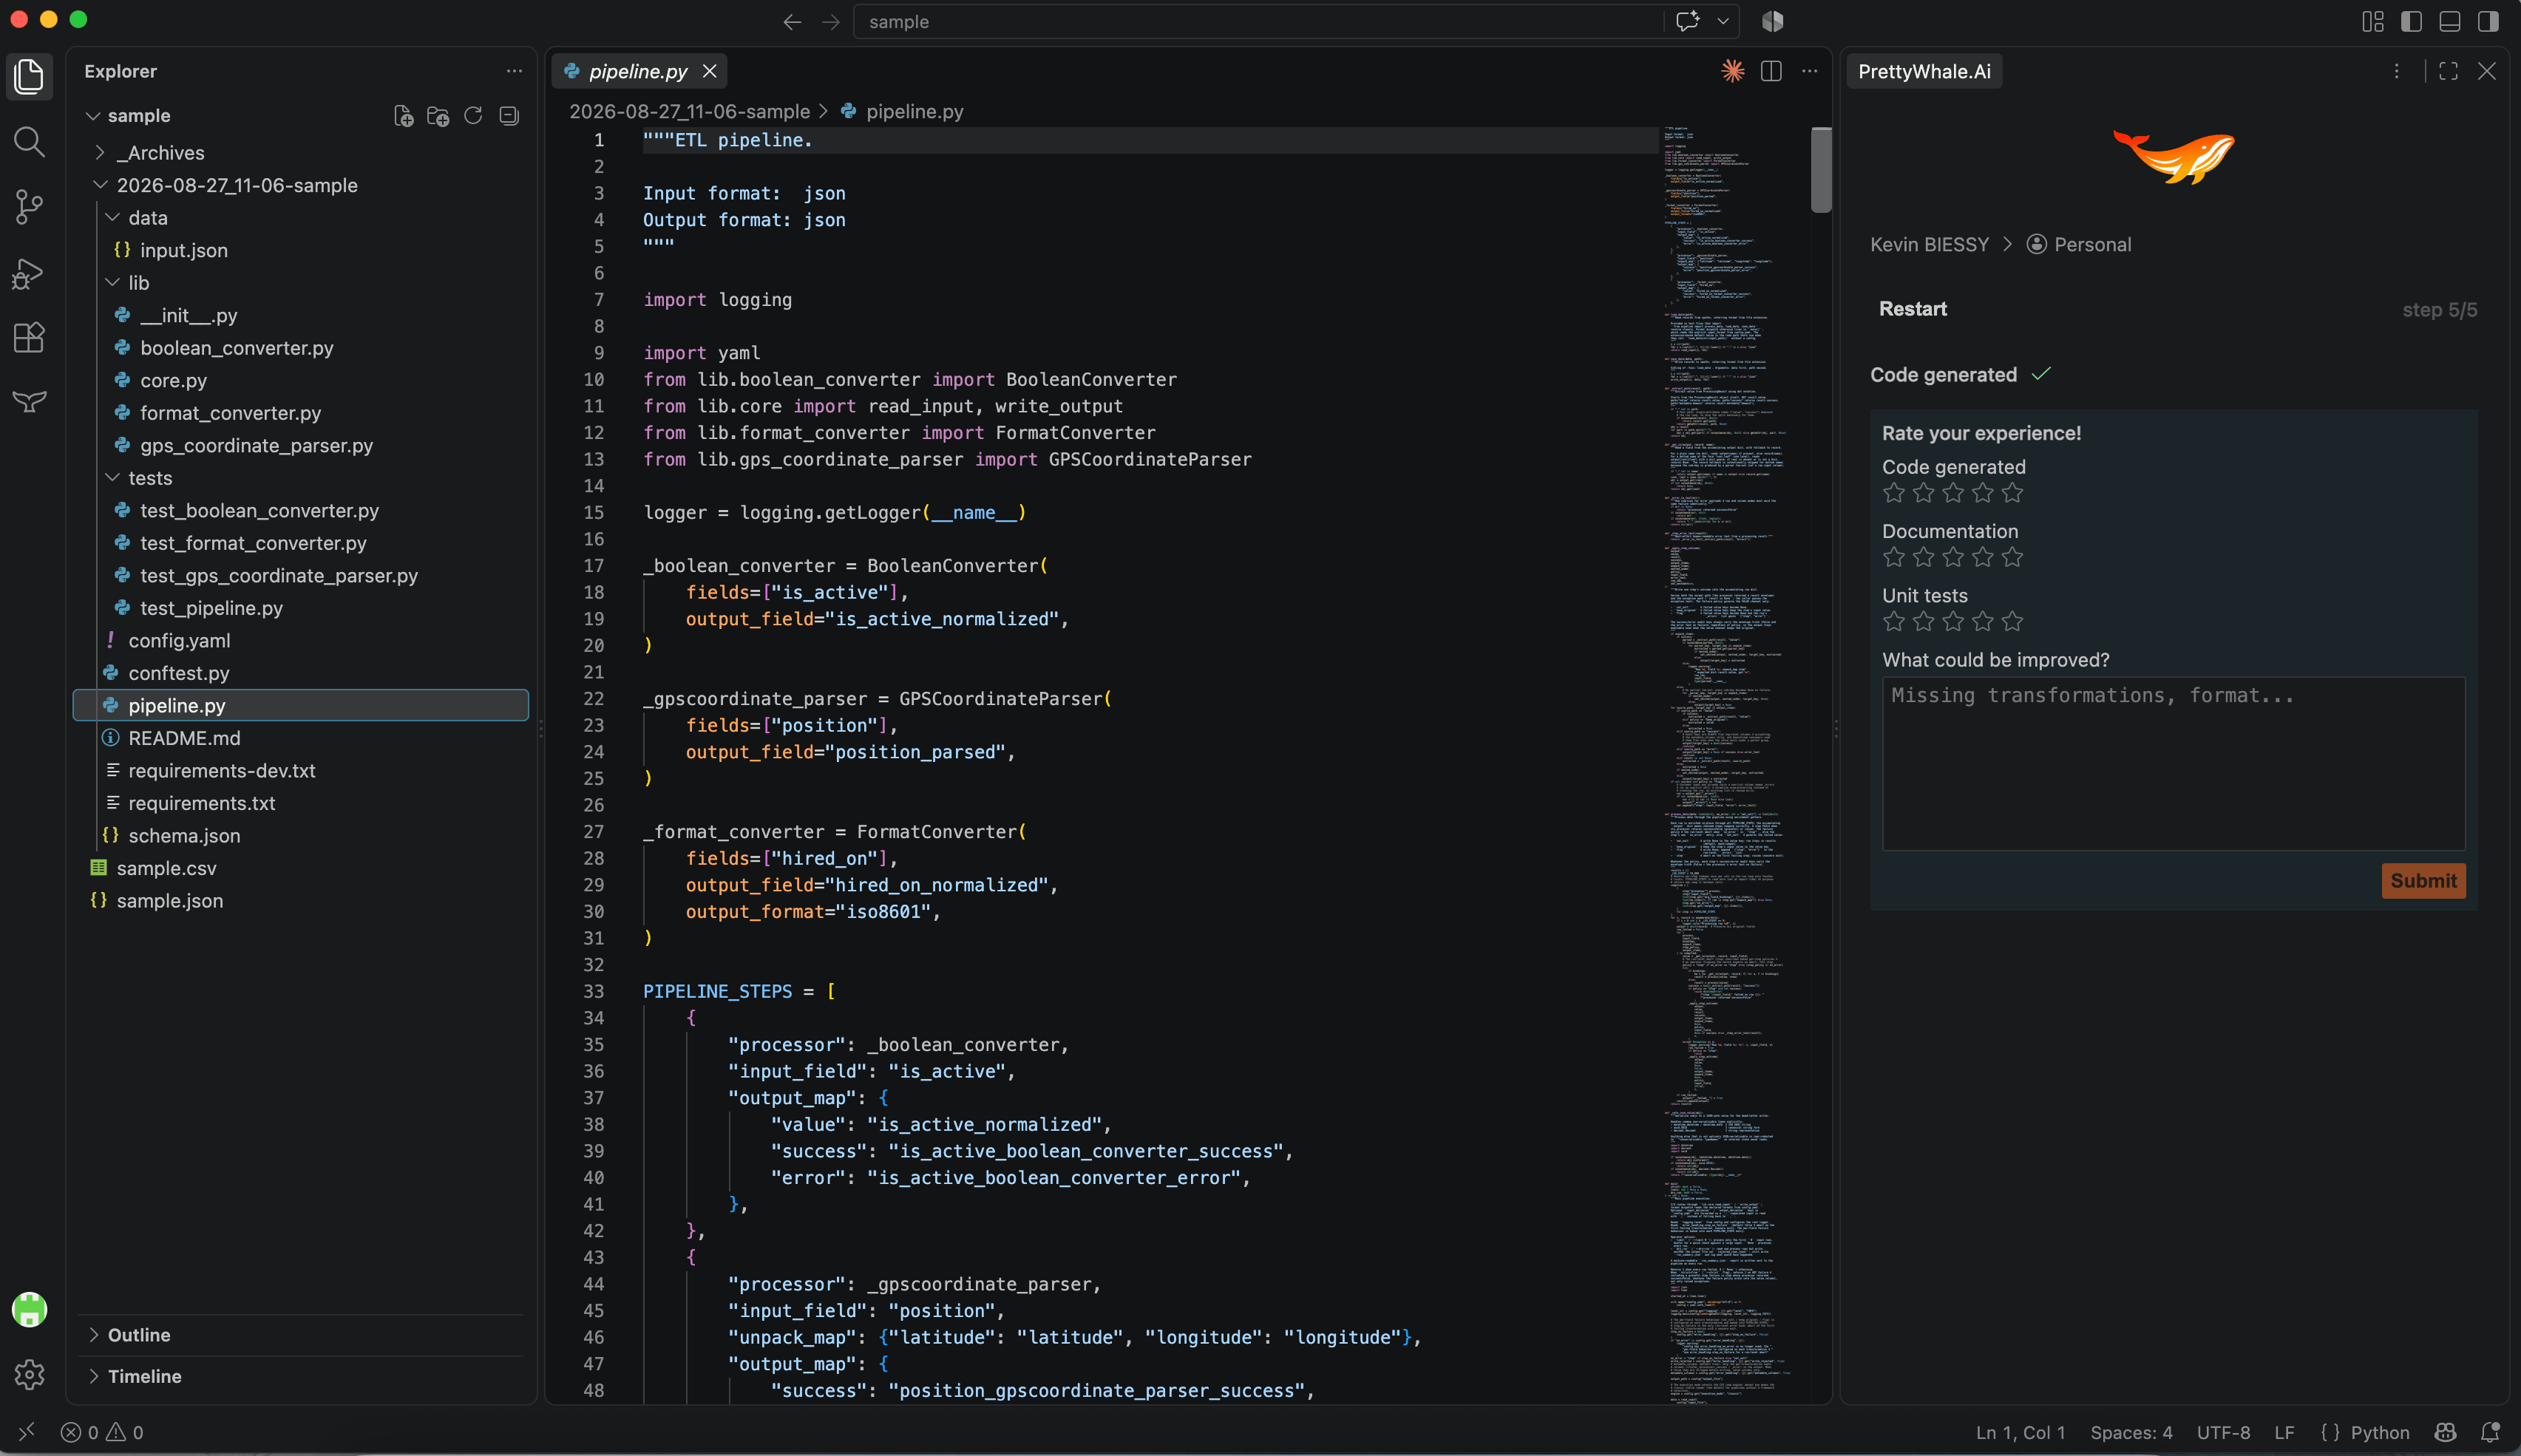
At the end of the generation cycle, the pipeline is executed on our infrastructure before it is packaged. It runs on the sample you provided and the tests are also executed. Thus, what lands in your repository has already been executed.